Your First Function
In this guide, we'll create a project and deploy your first WebAssembly serverless function using the Web Console.
Step 1: Create a Project
First, we need to create a project to host our function.
Configure Web Console Access
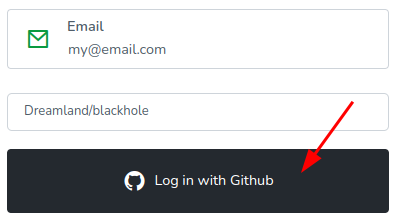
- Navigate to console.taubyte.com
- Configure your login:
- Enter your email
- Select network:
Dreamland/blackhole - Click
Login with GitHub

Note: The GitHub access is browser-local and is used to create project repositories that will be cloned into a browser-based virtual filesystem.
Create Your Project
- From the projects dashboard, click
Create project

- Configure your project:
- Name: your-project-name
- Description: A brief description
- Visibility: private or public if you want open repositories

What Happens Behind the Scenes
The Web Console will create two repositories:
- Config Repository: Contains YAML configuration files
- Code Repository: Contains inline source code in various languages
Upon successful creation, you'll be redirected to the project dashboard:

Step 2: Create a Function
Now let's create a WebAssembly serverless function in Go.
Create the Function
- Navigate to
Functionsin the side menu and click the+button
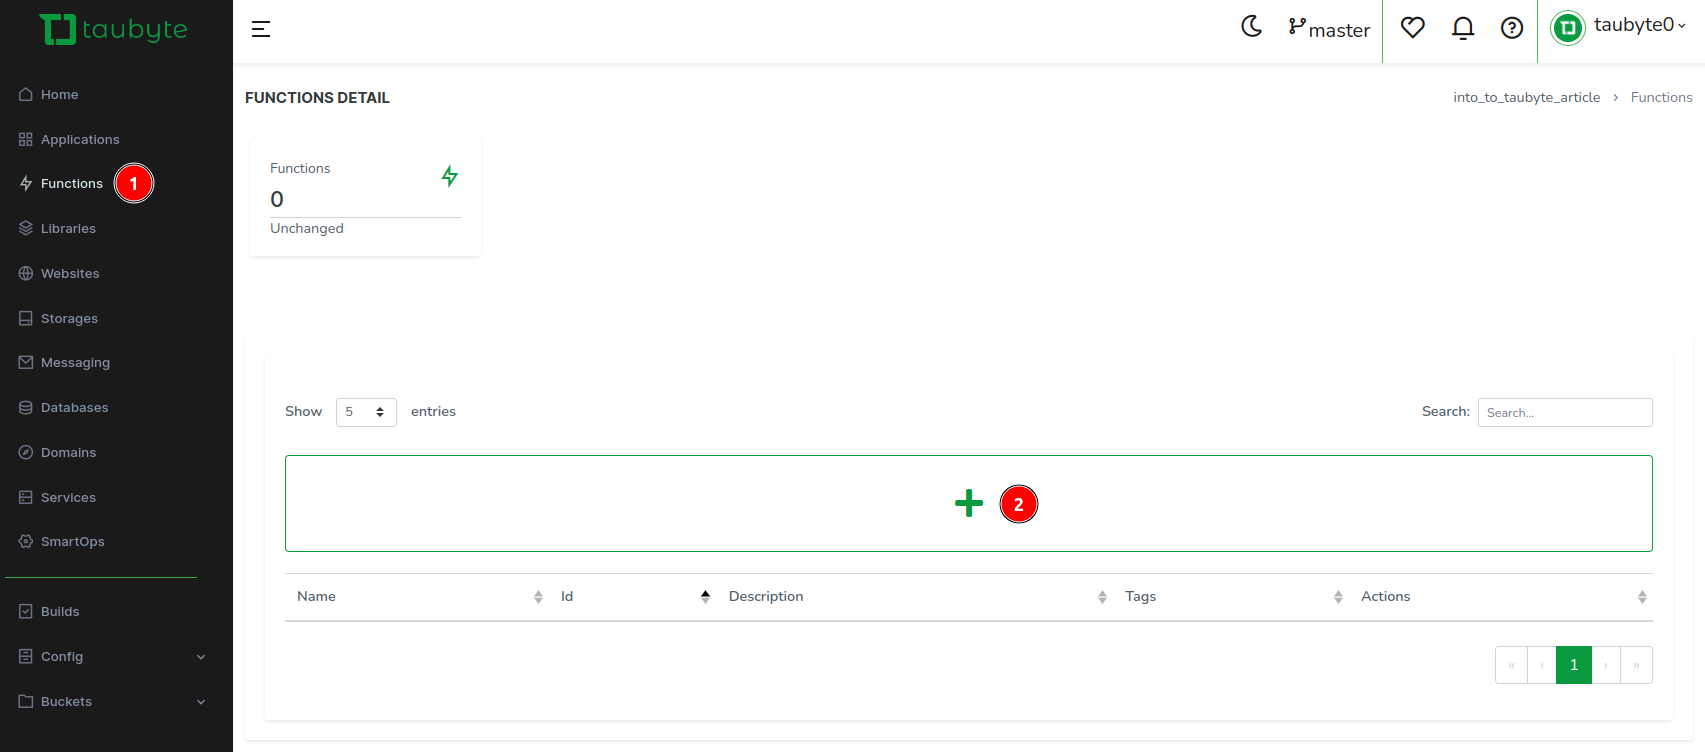
- Instead of filling out fields manually, let's use a template. Click
Template Select
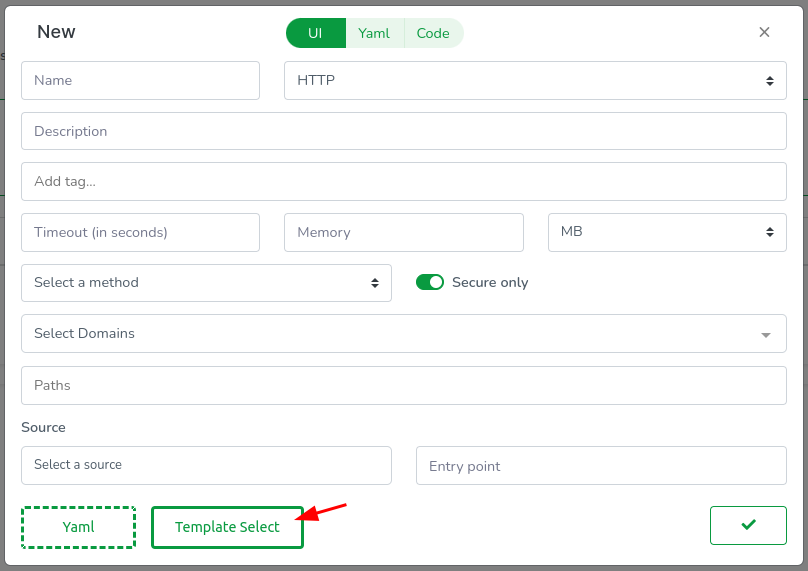
- In the template modal: Select Go as the language, choose the
ping_pongtemplate, and click 'Close' to exit the modal
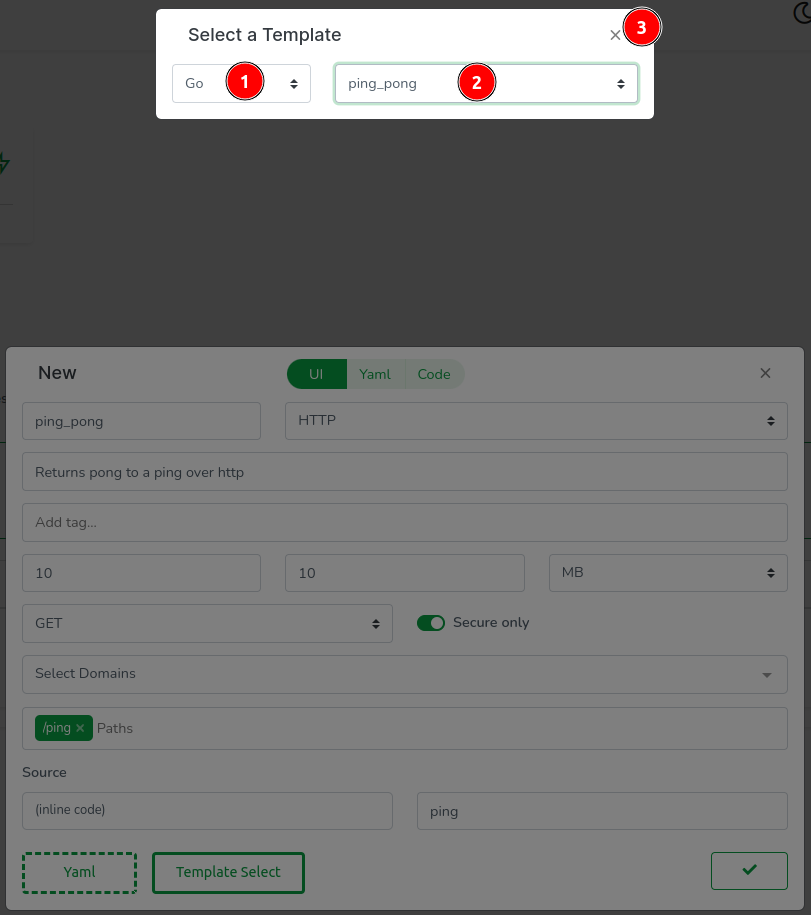
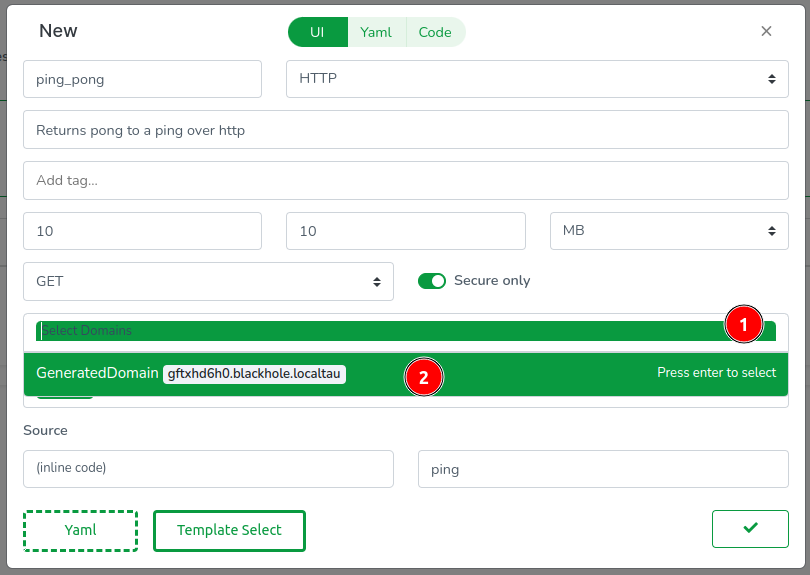
- The template fills most fields automatically. For domains, click the dropdown and select
GeneratedDomainto create a new domain resource
Understanding the Configuration
The Web Console clones your repos in-browser, so everything has a code representation. Click the Yaml tab to see the function's config:
id: ""
description: Returns pong to a ping over HTTP
tags: []
source: .
trigger:
  type: https
  method: GET
  paths:
    - /ping
domains:
  - GeneratedDomain
execution:
  timeout: 10s
  memory: 10MB
  call: ping
Key Configuration Notes:
source: .points to inline code, but you can also reference Git repos usingsource: github.com/username/repo- The
triggersection supports multiple paths and HTTP methods - useful for RESTful APIs - Memory and timeout values can use any standard unit (KB, MB, GB, ms, s, m)
- The
callfield must match your exported WebAssembly function name
Examine the Code
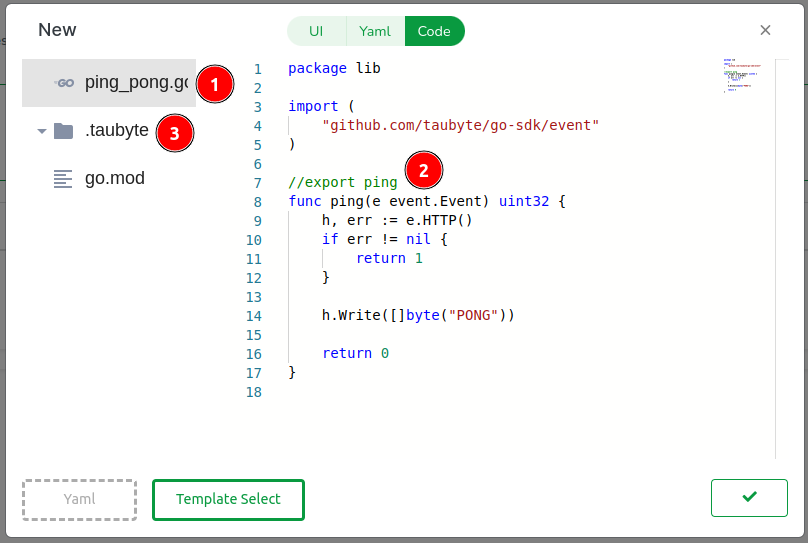
Next, let's inspect the code. Click on the Code tab to access the Web Console's code editor.

In the editor, you will observe:
- The usual Go files including go.mod
- The code for our handler function
ping - A
.taubytefolder defining how the function is built
Important Code Requirements:
- Package Naming: The
mainpackage name is reserved for the build container. Use a descriptive package name for your function - SDK Implementation:
github.com/taubyte/go-sdkprovides the interface between your code and the VM with optimized wrappers - TinyGo Compilation: Functions must be exported using
//export functionNamesyntax - Event Architecture: Events use minimal memory with uint32 identifiers, designed for efficient serverless execution
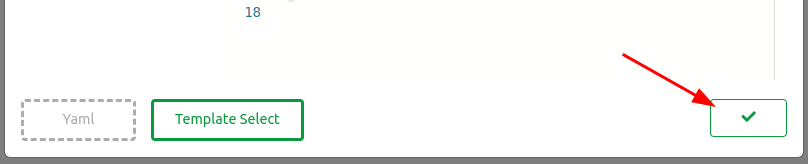
Click Done to proceed.

Step 3: Deploy the Function
Everything done so far is confined to a virtual filesystem in your browser. To apply these changes, we need to push them.
Push Configuration Changes
- Find the green button at the bottom right of the screen and click on it
- A modal will guide you through the code changes. Click on the domains folder, then open the GeneratedDomain.yaml file
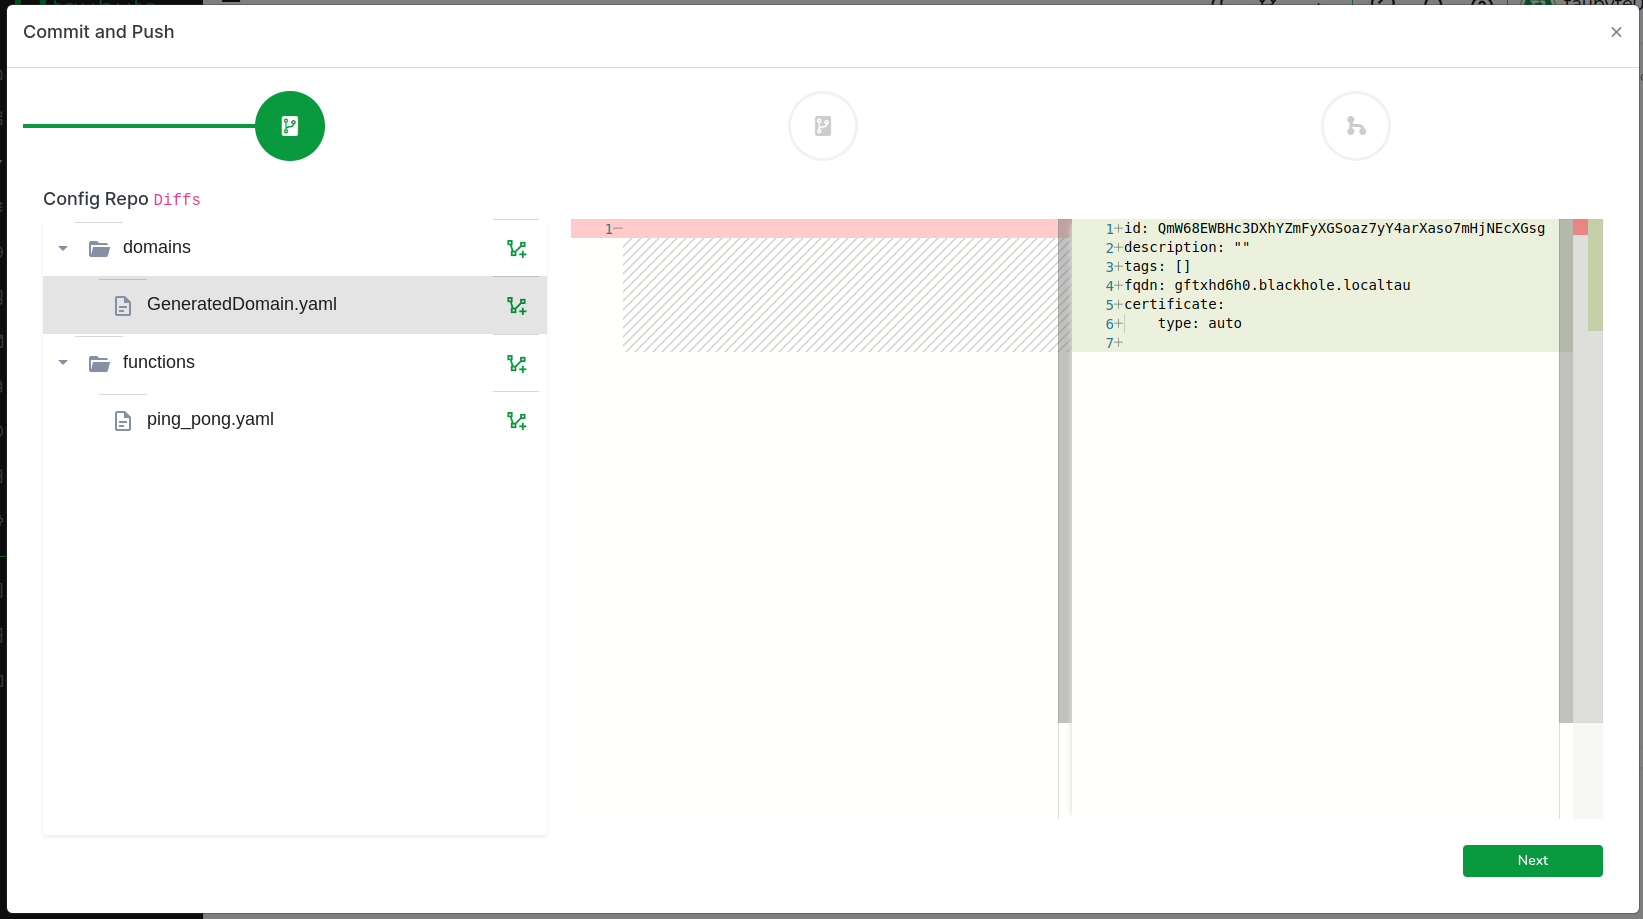
- Important: Copy the FQDN generated for you as we will need it later:
- Click on Next to review code changes
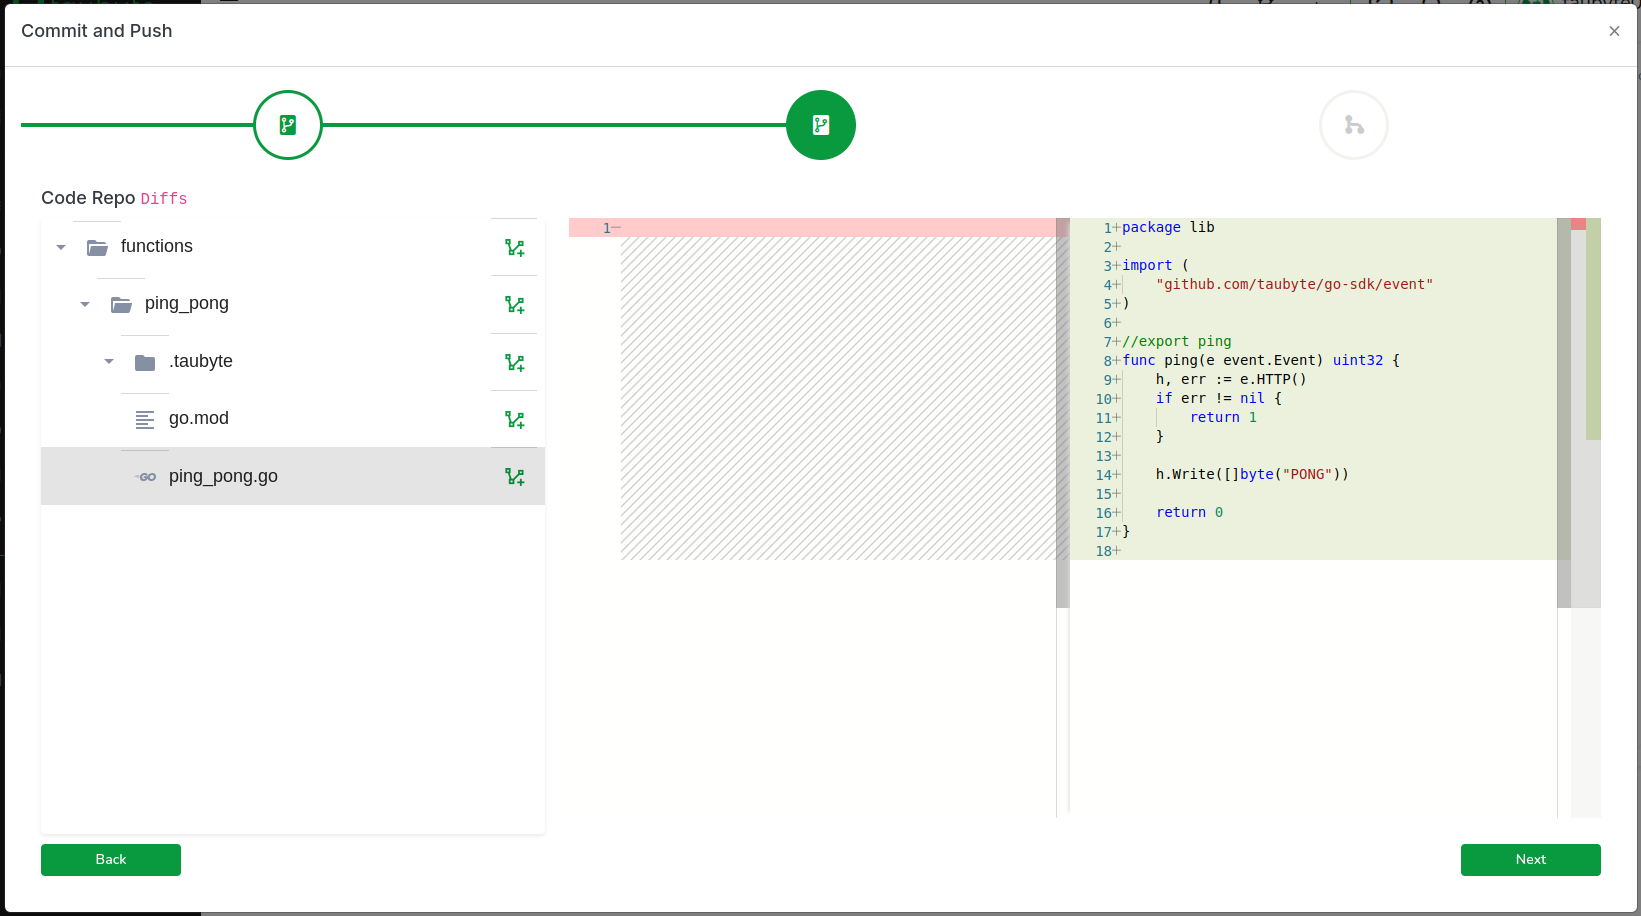
- Enter a commit message and push the changes to GitHub

Trigger Build
In production, this push would trigger an event that your cloud would capture. However, because we're using dream and GitHub cannot reach your nodes directly, we run a fixture called push-all to emulate the git events. Switch back to your terminal and run:
Monitor Build Progress
Return to the Web Console and, on the side menu, click on Builds. You should see two CI/CD jobs, one for configuration and one for code.

After a few seconds, the build should complete. Click on Refresh if it seems delayed. Then, click on the stack icon to view the ping_pong function.

Step 4: Test Your Function
Now that our function is ready, let's test it!
Find the Substrate Port
Since we're running locally, we need to find the right port to send requests to. The substrate node handles HTTP traffic:
Example output showing HTTP port 14529:
┌─────────────────────┬────────┬───────┐
│ substrate@blackhole │ copies │     1 │
│                     ├────────┼───────┤
│                     │ dns    │ 14304 │
│                     ├────────┼───────┤
│                     │ http   │ 14529 │
│                     ├────────┼───────┤
│                     │ p2p    │ 14282 │
└─────────────────────┴────────┴───────┘
Test with curl
Test the function using curl, making sure to replace gftxhd6h0.blackhole.localtau with your own generated domain:
Output:
Optional: Add to Hosts File
For a smoother development experience, you can add the generated domain to your hosts file. On Unix-like systems (Linux/macOS), edit /etc/hosts:
Add your generated domain:
Save and exit, then run curl again without the Host header:
Test Through Web Console
If you've added the generated domain to your /etc/hosts, you can also test the function directly through the Web Console:
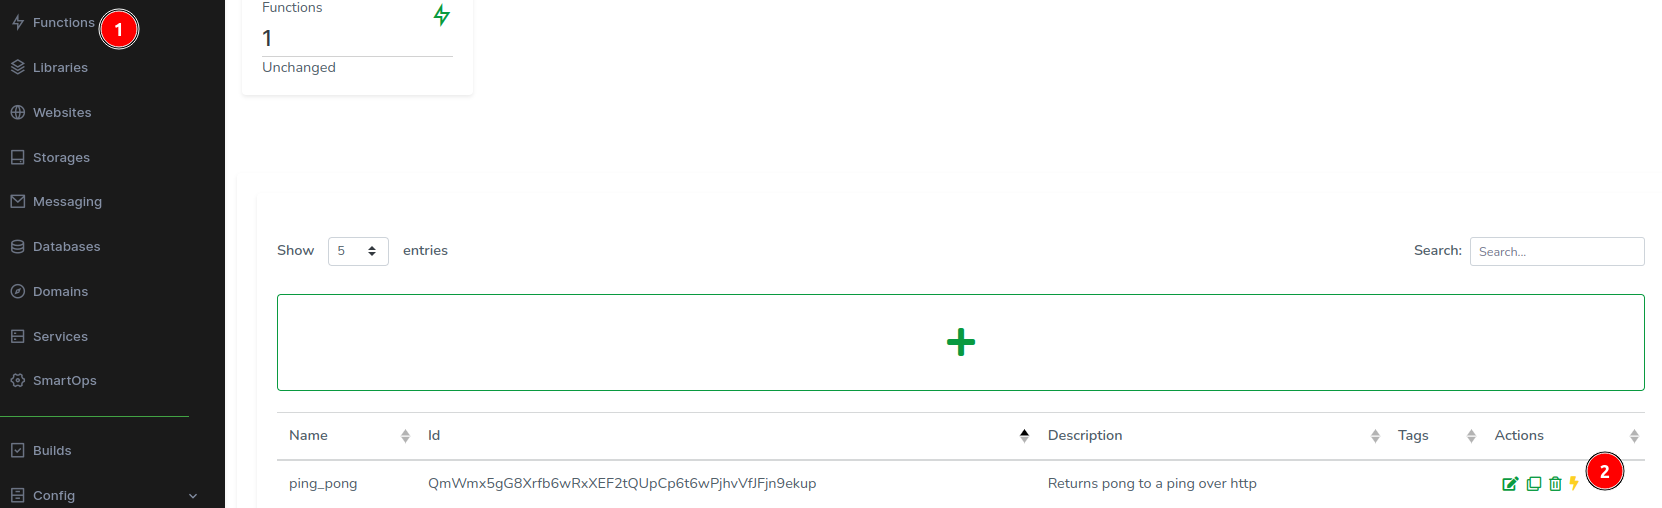
- In the sidebar, click on
Functions - Find your
pingfunction in the list - Click the thunder icon next to it to execute
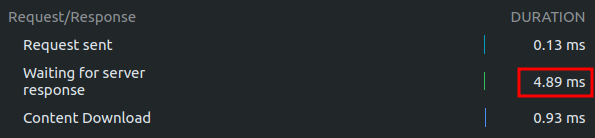
This will open a new tab and make a request to your function's endpoint.

Congratulations!
You've successfully created a local cloud and executed a serverless function on it!
Troubleshooting Tips
- If the curl command fails, ensure your port number matches the
dream status substrateoutput - The Host header is only needed if you haven't added the domain to
/etc/hosts - If the function build fails, check the Builds tab for detailed error messages
- The
dream inject push-allcommand might need to be run again if changes aren't reflecting
Next Steps
Now that you have a working function, you can:
- Learn more about Functions in the development section
- Explore Websites hosting
- Try Databases for data storage
- Understand the Architecture behind Taubyte