Ship it to production!
With Taubyte, going to production is a simple process. All you need to do is import your project into your desired cloud and trigger builds.
Import your project
You can import a project using either the Web console or tau-cli. The Web console is the easiest way to get started, so we'll use that for this guide.
If you're currently connected to dream, start by logging out:

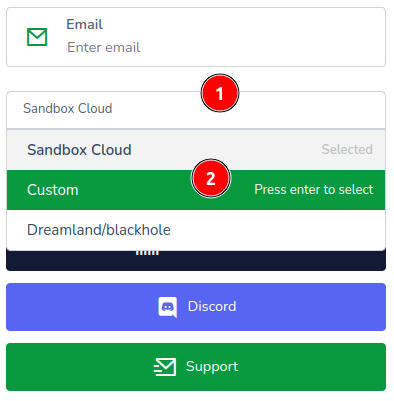
Navigate to https://console.taubyte.com and select "Custom":
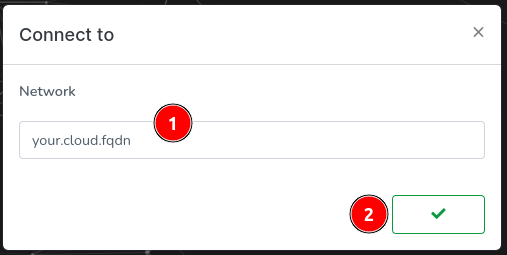
Enter your cloud's FQDN, validate, then login as usual:
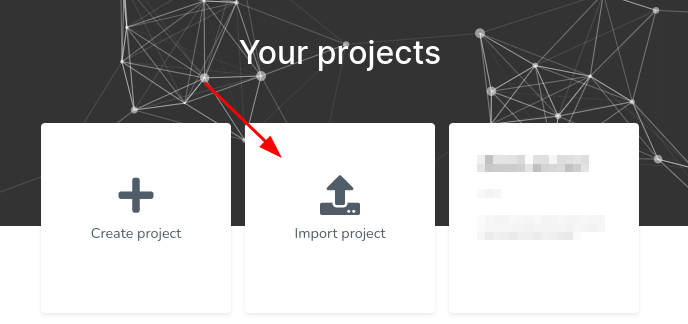
Click on "Import Project":
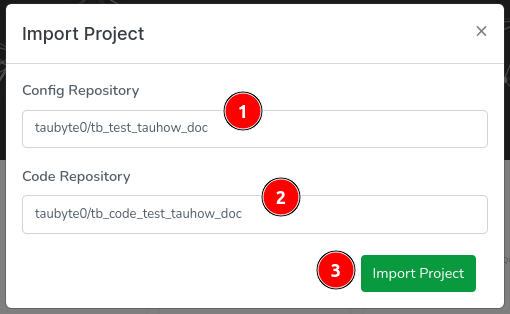
Select the repository you want to import. The Web console will attempt to identify eligible repositories and will even match the code repo if you select the config repo. If you don't see your repositories, you can enter them manually:
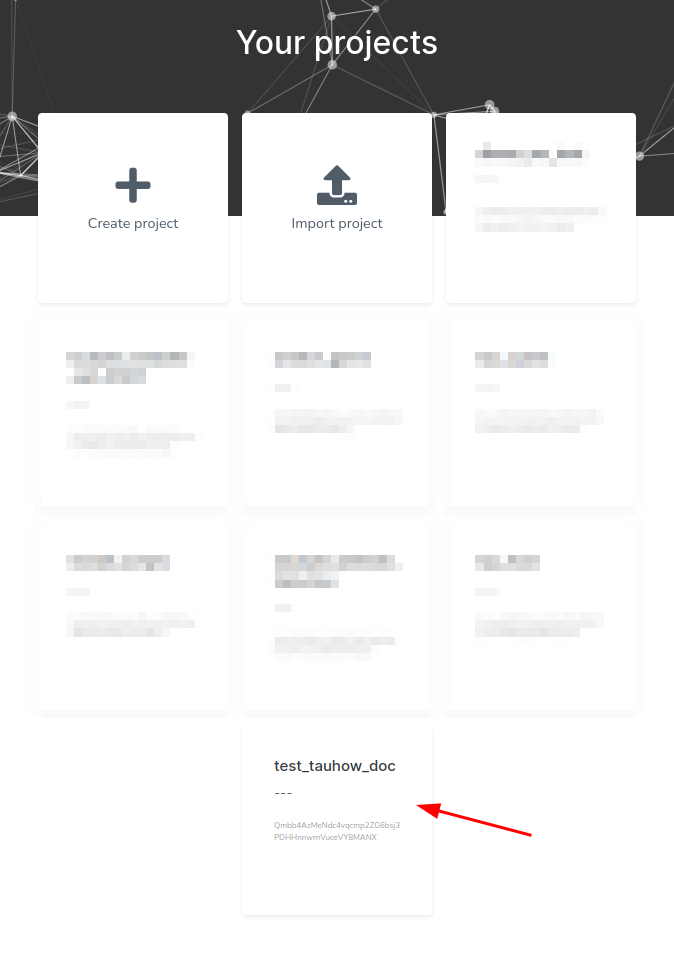
Your project will now appear in the project list. Click on it to load it:
Trigger builds
You'll need to trigger builds for each repository. Here's how to handle different scenarios:
- If you built the project locally using the main branch: Push changes to each repository in this order: config, code, then all other repositories
- If you built locally on a dev branch: Simply merge your branch into main to trigger builds