Websites
Now that you know how to create a serverless function, let's create a Website.
Creating the Website
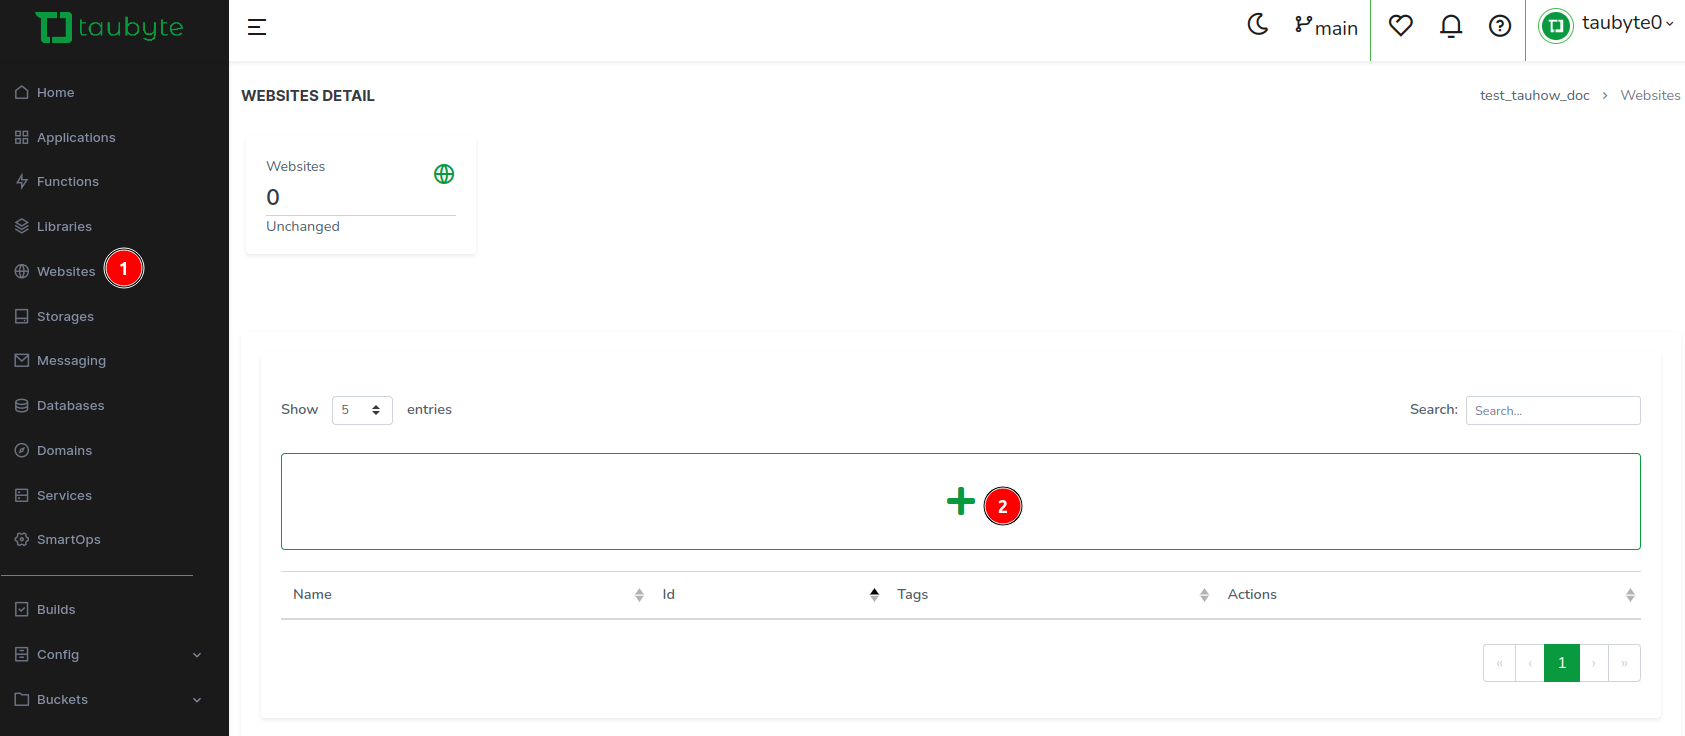
Navigate to Websites in the side menu and click the + button.
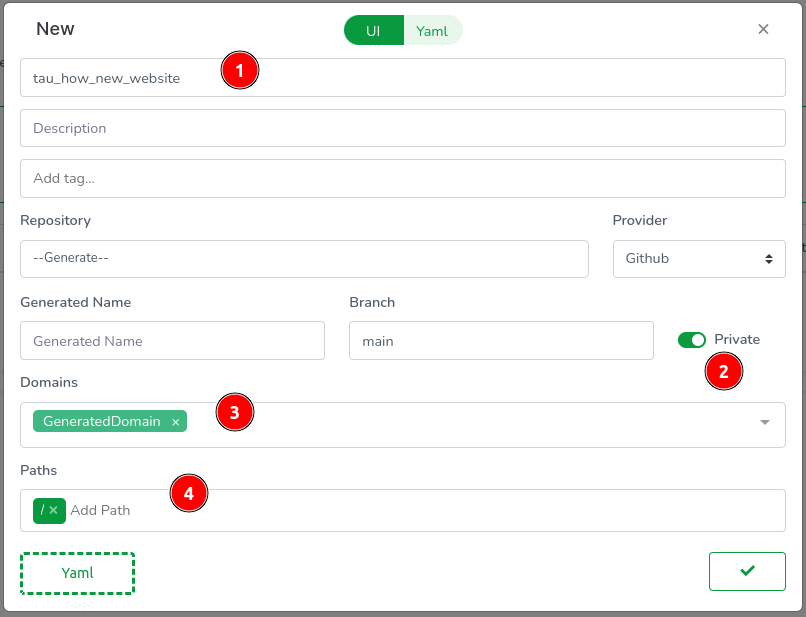
Input a website name. Ensure the repository is set to generate. Toggle private if you'd like the repository to be private. Select the generated domain, add / as a path, and validate.
Select the HTML template, and click Generate.
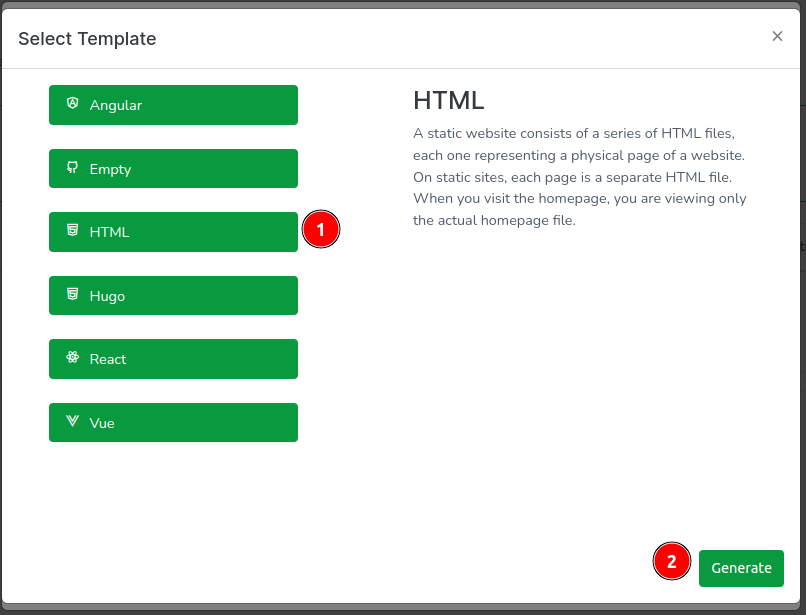
💡 Note: This will create a new repository on Github and push the generated code to it.
Notice that now you have a new website in the list.

Click on the push button at the bottom right corner to push the configuration changes.
Click on the websites folder, then on the YAML file for your new website. Copy github.id (903606675 in the example) and github.fullname (taubyte0/tb_website_tau_how_new_website in the example); we'll need them later.
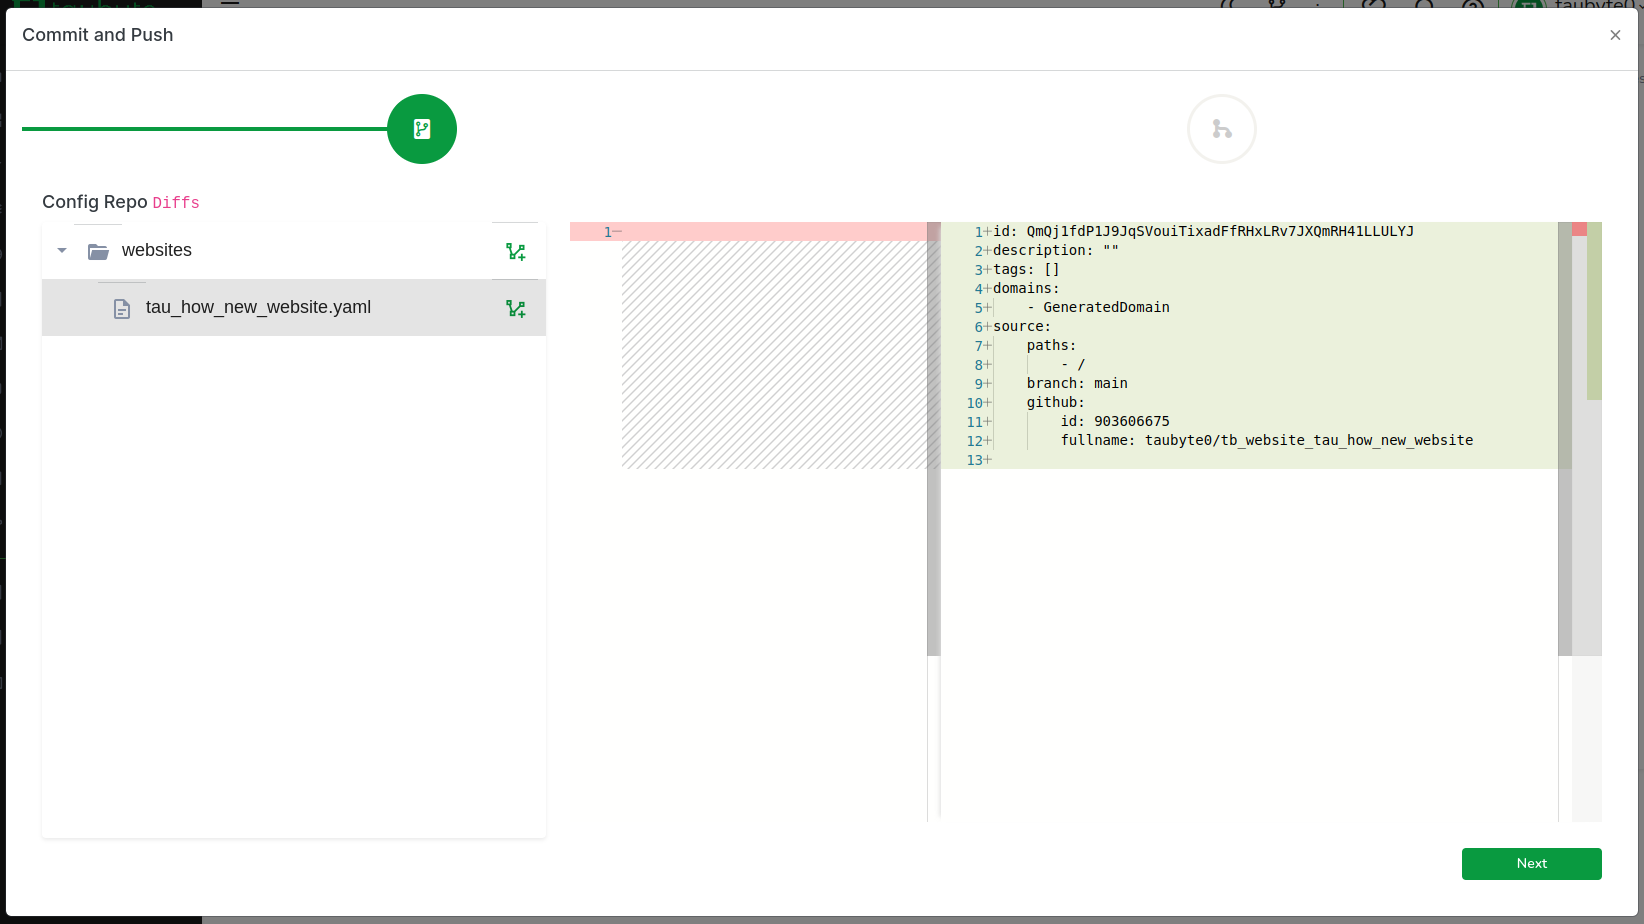
Enter a commit message, and click Push.

Editing the Website
Go back to Websites and click on the open icon on the right side of your website. This will open the website repository in a new tab.

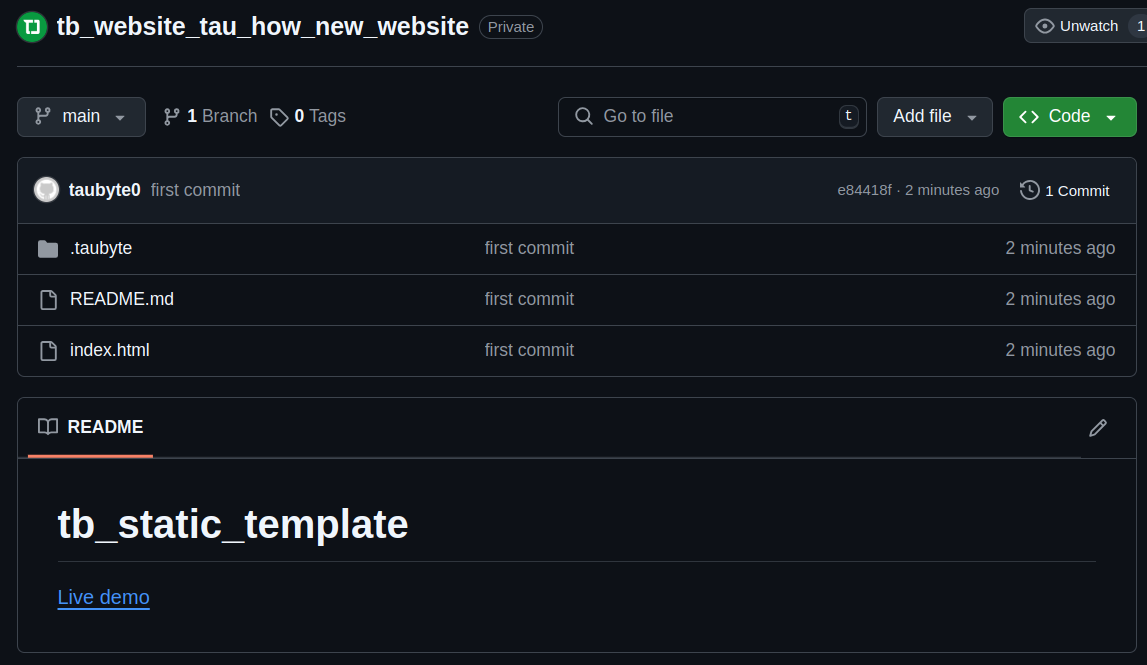
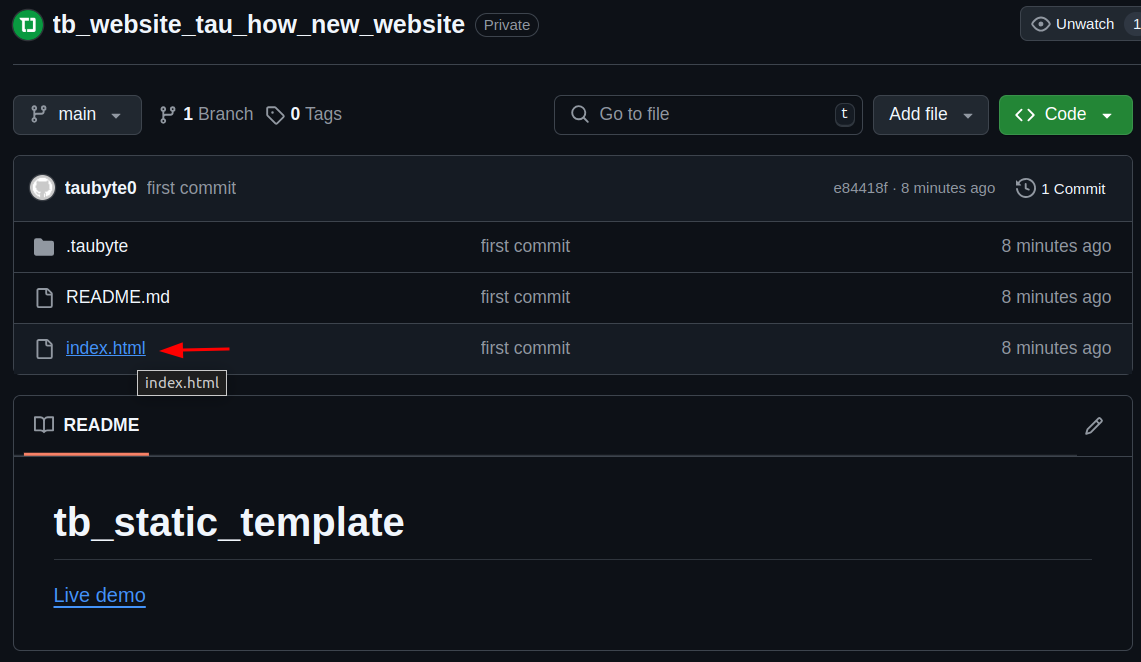
Click on the index.html file to open it.
Click on the Edit button to edit the file.
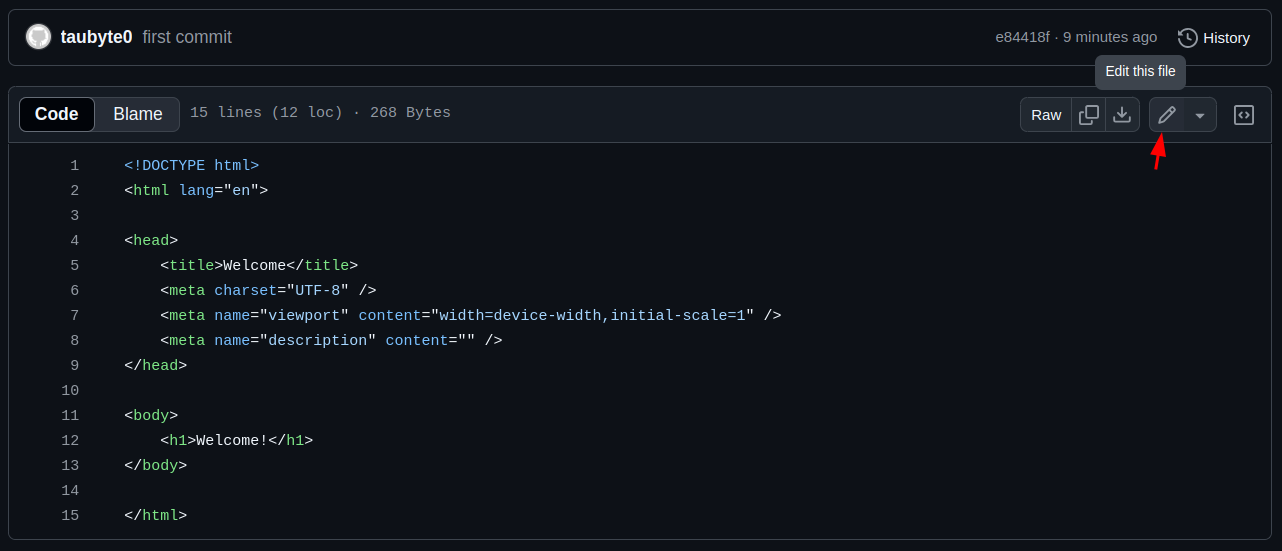
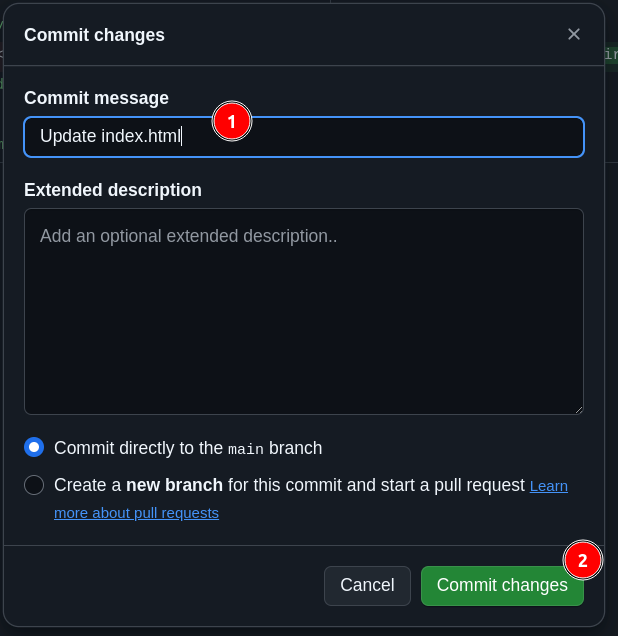
Change the content of the file, and click on the Commit Changes... button.

Enter a commit message, and click on the Commit Changes button.
Triggering the Build
Unlike a deployed tau cloud, dream is not able to trigger the build automatically, so we need to do it manually.
💡 Note: Use the
github.idfor--ridandgithub.fullnamefor--fnyou copied earlier.
Navigate to the builds page and wait for the build to complete.

Opening the Website
First, if not done already while creating a function (see Creating a function), add the generated domain to your hosts file. On Unix-like systems (Linux/macOS), edit /etc/hosts:
For me, the generated domain is gftxhd6h0.blackhole.localtau. So I add:
Then navigate to the Websites page and click on the thunder ⚡️ to open the website in a new tab.

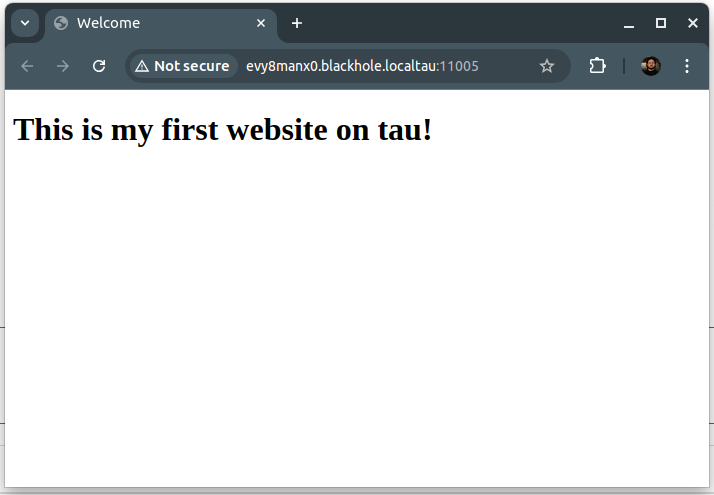

Congratulations! You've successfully created a website!