Start a local Cloud
Let's dive right in and get our hands dirty with some real cloud development! All you need to get started is npm installed on your machine. We're using npm since it works great across all platforms - Windows, Mac, or Linux.
We'll be using dream (github.com/taubyte/dream) - a super handy tool that lets you spin up your own Taubyte cloud right on your local machine. Think of it as your personal playground for building and testing cloud apps, plugins, etc.
Quick Start
Install the Taubyte Dream CLI:
Start your local cloud environment:
You should see:
💡 Tip: You can verify everything is running with
dream status universe
Once you see SUCCESS, it means your cloud has been fully started.
A first look
Let's check the status of our cloud environment:
Example output:
┌───────┬─────────────────────┬────────┬───────┐
│ Nodes │ elder@blackhole     │ p2p    │ 14051 │
│       ├─────────────────────┼────────┼───────┤
│       │ tns@blackhole       │ http   │ 14466 │
...
Understanding the output:
- Node Types:
- Protocol nodes: Run specific services (e.g.,
tns,substrate) - Role-based nodes: Handle specific functions (e.g.,
elderfor bootstrapping)
- Protocol nodes: Run specific services (e.g.,
- Universe:
@blackholesuffix indicates the cloud instance - Ports: Right column shows TCP ports for each service
Visual Interface
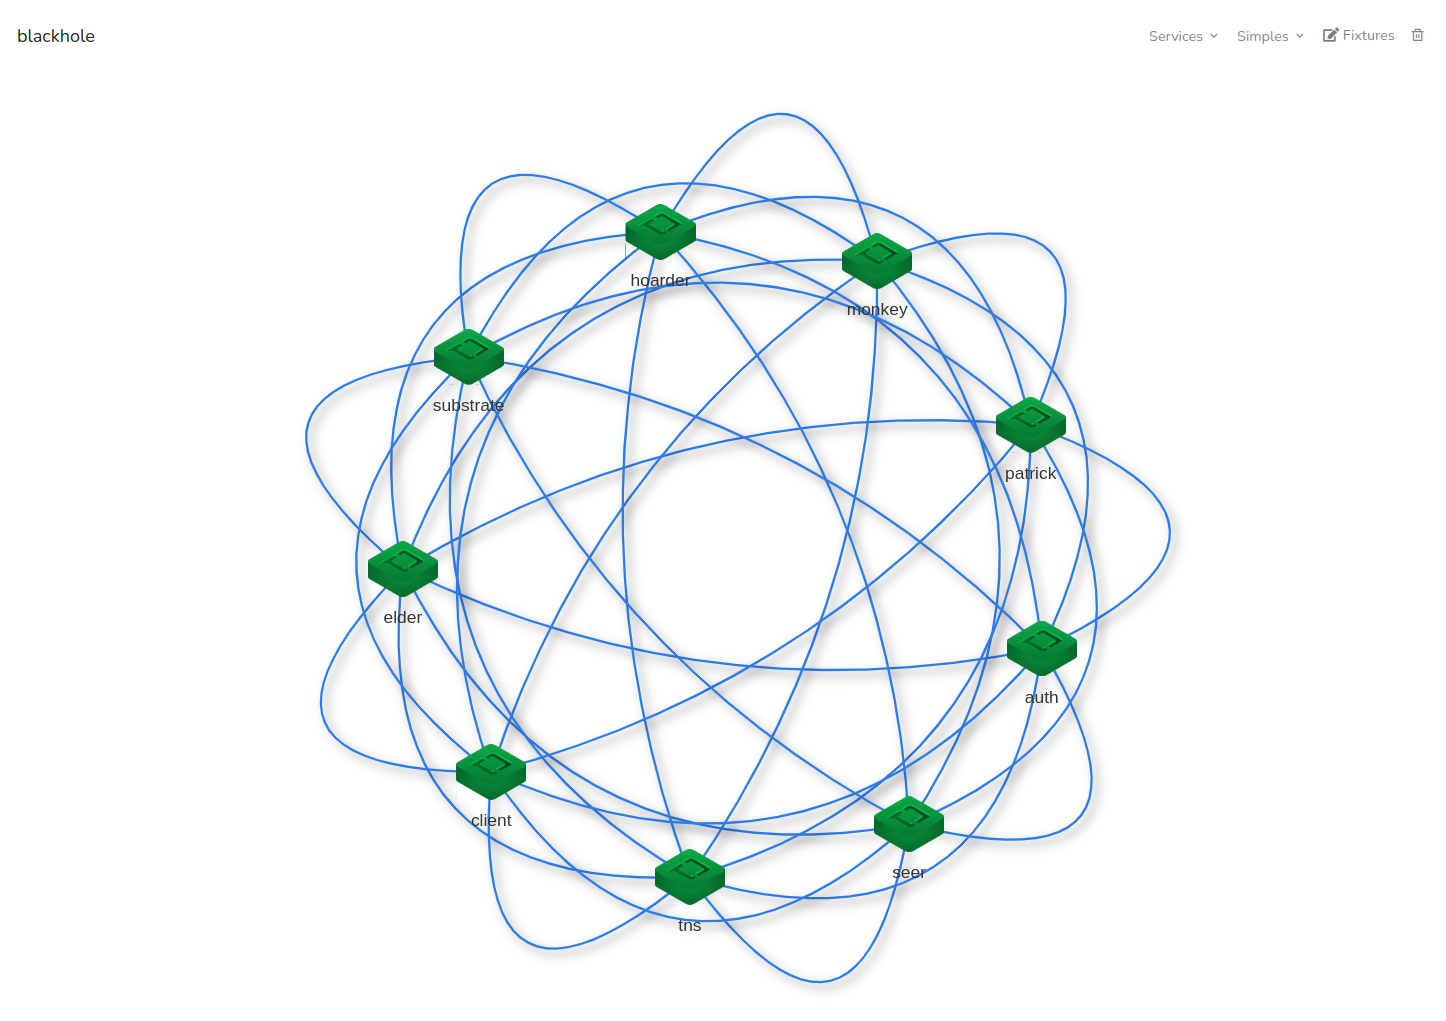
- Open console.taubyte.com
- Click the Dreamland button (requires active dreamland instance)
- Navigate: Sidebar → Network → blackhole

The network visualization shows:
- All active nodes from your CLI output
- Interactive node graph
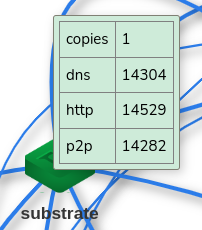
- Port information on hover

💡 Pro tip: The graph is interactive - drag nodes to rearrange the visualization
Network Architecture
Your local cloud runs as a peer-to-peer mesh network where each node handles a specific service. While production nodes can run multiple services, dream assigns one service per node for easier debugging.
Core Services
Request Handling:
gateway: L7 load balancer and entry pointsubstrate: Processes and serves requestsseer: DNS resolution and load balancing
CI/CD:
patrick: Git event handler → CI/CD pipelinemonkey: CI/CD job executor
Infrastructure:
auth: Authentication and secrets managementtns: Project registry and configuration storehoarder: Data replication manager
The other nodes, referred to as Simples (admittedly, not the best name), include elder and client. While they are not crucial for the purpose of this article and could be excluded when starting the universe, it's helpful to understand their intended roles:
eldernodes are used for bootstrapping. Sincedreaminterconnects all nodes, anelderis included for testing purposes when using dream as a library as a library.clientnodes are lightweight and can be used to test services or peer-to-peer services deployed on the cloud.
💡 Dev Note: In production, nodes can run multiple services by defining a "shape". The single-service-per-node setup in dream is purely for development convenience.